Backing Up Documents
Before you begin
The following steps outline the instructions for backing up documents scanned/imported into patient records using either ManageEzy and/or ImageLite. Note that although you can backup the ImageLite folder separately, you must always include it whenever you backup the Bluechip database.
Procedure
-
Access the Backup utility:
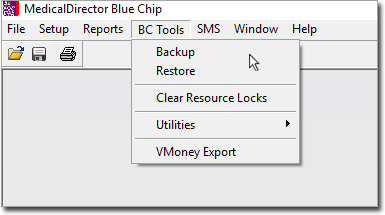
- From within Medical Director Bluechip. When run from within Bluechip in this way, the Backup utility can only be run on the Bluechip server computer.
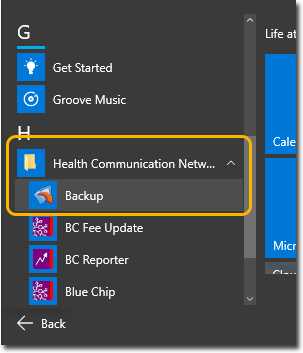
- From the Windows Start Menu.
- From within Medical Director Bluechip. When run from within Bluechip in this way, the Backup utility can only be run on the Bluechip server computer.
-
The Backup utility is capable of sending you an email notification when it has completed. If the Windows SMTP service is not available on your computer, you will be notified accordingly.
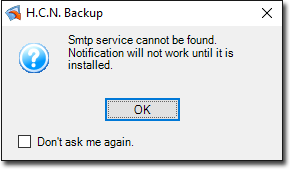
Click
to continue. -
-
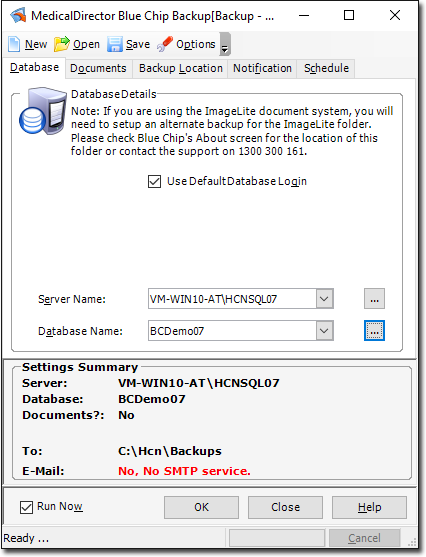
The Backup utility appears, and you are presented with the Database tab. On this tab you will indicate the name of the server computer on which your Bluechip database resides, and the name of the database you want to backup.
-
Select the server that contains the Bluechip database you want to back-up. Note that you may have to click the

to refresh the list of available servers.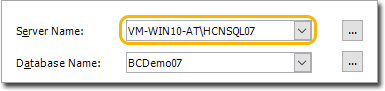
-
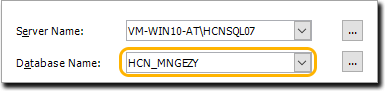
Select the HCN_MNGEZY database.
-
Select the Documents tab. Click the

next to the
button, and select the 'Bluechip ManageEzy Documents' option.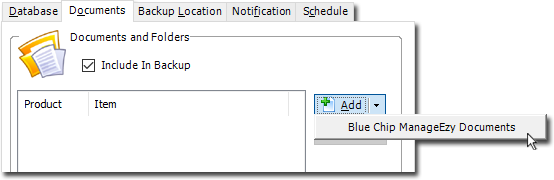
-
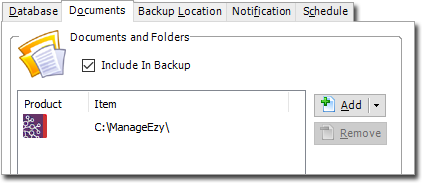
The ManageEzy documents folder is added to the list of folders to include in the backup.
- Optional: Include the ImageLite Documents folder.
-
If you had previously used the ImageLite utility for importing/scanning documents into patient records, you can indicate here that you want to include these documents with the HCN_MNGEZY backup. You may want to do this if you want all your documents backed up together.
- To locate your ImageLite documents folder (if you don't already know it), within Bluechip select . The window that appears will indicate the ImageLite documents folder location.

- To include this folder in the backup, select the Documents tab, click
and indicate the location to your ImageLite documents folder.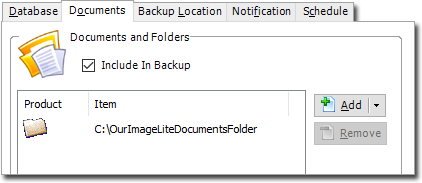
- To locate your ImageLite documents folder (if you don't already know it), within Bluechip select . The window that appears will indicate the ImageLite documents folder location.
-
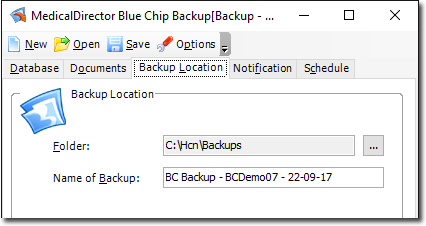
Indicate a location to save to back up to. Select the Backup Location tab, and then;
- Specify the location for the backup. A default is offered.
- Specify a name for the backup. A default is offered.
-
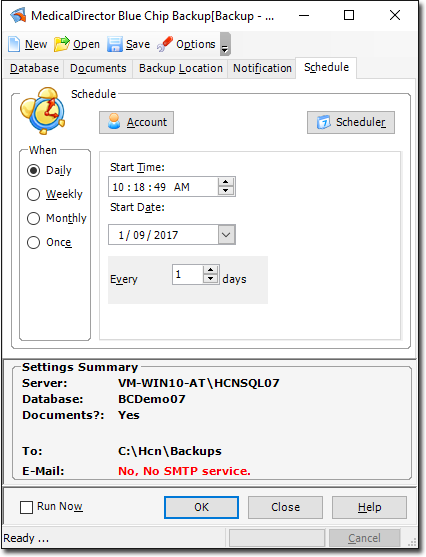
Schedule a time for the Backup to commence. By default, the Backup Utility assumes you want to perform the backup immediately. However, you can schedule the backup to occur at another time.
- If you want to run the backup now, go directly to Step 9.
- If you want to schedule the backup, locate and un-tick the Run Now check box at the bottom-left of the window. The Schedule tab becomes available. Configure a backup schedule to suit your practice.
-
Click
to save your options, and close the backup utility. -
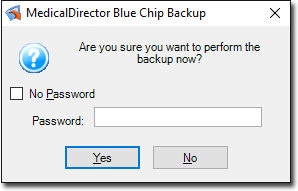
You will be prompted to confirm that you want to backup Bluechip (either now or according to your schedule), and offered the opportunity to password-protect the backup. Such backups require the password to restore them.
-
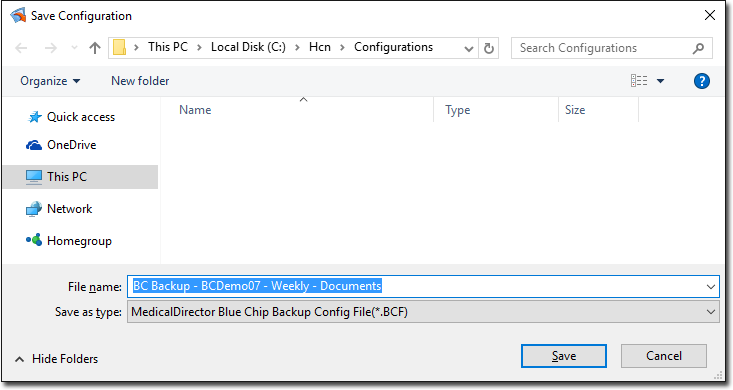
(Optional) If you have made changes to the backup settings beyond the default, you will be prompted to save this configuration.
- It is recommended that you name each type of configuration differently to differentiate one from another. For example, in the image below we have indicated that this configuration is for our "Weekly" backup (as opposed to a "Daily" backup, or an "Ad-Hoc" backup).
- It is recommended that you name each type of configuration differently to differentiate one from another. For example, in the image below we have indicated that this configuration is for our "Weekly" backup (as opposed to a "Daily" backup, or an "Ad-Hoc" backup).
-
If you have chose to backup now, the backup commences. You will be notified upon its completion.
- Alternatively, if you have chosen to schedule the backup for later, simply click

to close the backup utility.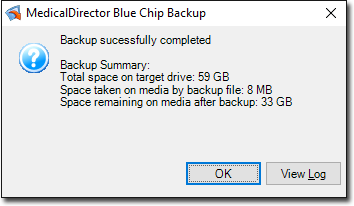
- Alternatively, if you have chosen to schedule the backup for later, simply click