Configuring the Link File Processor
Before you begin
You will need to do this whether you've installed Clinical as new or you don't see LFP running on the server
Procedure
- Ensure both Bluechip and Clinical are closed.
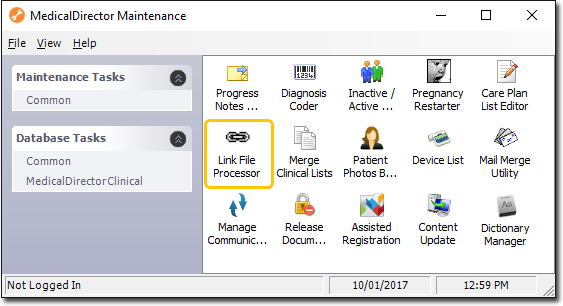
- Locate and run the Maintenance suite. There is usually an icon on your desktop for this.
- In the panel, select Clinical.
-
Double-click the Link File Processor icon.
-
You may be prompted that some options have to be enabled in Clinical in order to allow it to link to Bluechip. Click

to continue.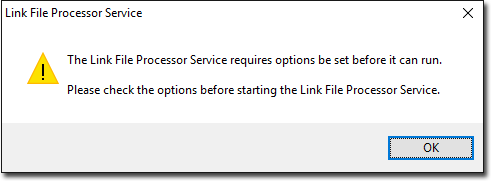
-
If the Link Options window is not already displayed, you will need to right-click the LFP icon

in the system tray, and select 'LFP Service Manager'. -
The Link File Processor Service Manager appears. Click

- You will be prompted to select the appropriate username and configuration you want to use and enter your password.
-
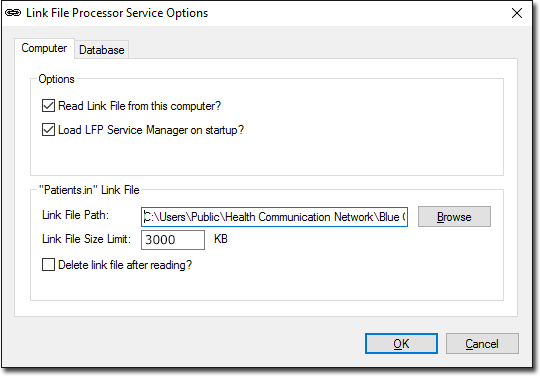
The Link File Processor Service Options window appears. Set the following options:
- Check the 'Read Link File from this computer'" box.
- Check the 'Load LFP Service Manager on Startup?' box.
- Use the Browse button to set the Link File Path to the folder set in the Bluechip configuration you set earlier. Note you must choose a local path, as network paths are not supported.
- Do not tick the 'Delete link file after reading' box
- Link File Size Limit = 3000 KB.
-
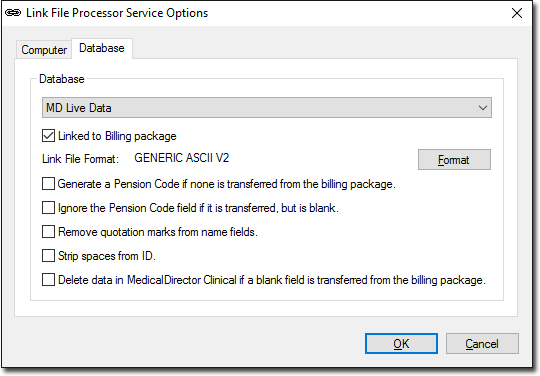
Select the Database tab. Set the following options:
- Ensure the Database is set to MD Live Data
- Check the 'Linked to Billing Package' box
- Link File Format = GENERIC ASCII V3
- None of the settings are mandatory. If in doubt, do not tick any of these boxes.
-
Click
to confirm. You will receive a prompt the options have been saved and the options restarted. - 12. Click the Hide button to minimise the Link File Processor Service Manager to the system tray.
- 13. Exit from MedicalDirector Maintenance.