Issuing Receipts
Before you begin
Billing: Combined Invoice & Receipt Billing: Combined Invoice & Receipt Running Time: 04:00
Billing: Stand-alone Receipts Stand-alone Receipts Running Time: 03:28
The following information describes how to allocate a payment to specific service items for a single account, and then issue a receipt for that payment. You can also distribute a payment across multiple accounts, or for multiple patients.
Procedure
- Open the Patient's Record.
-
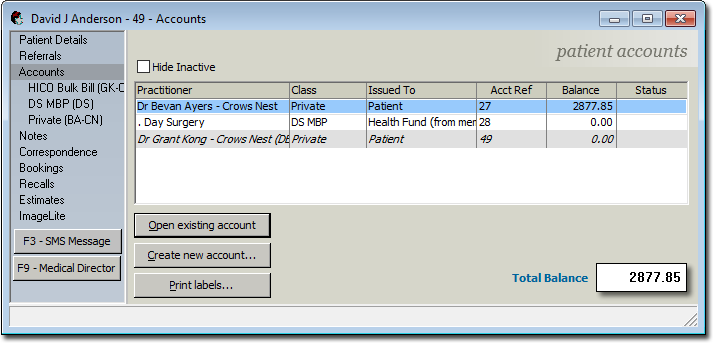
From the Margin Menu, select Accounts. The list of accounts is displayed.
-
Select an account and click

You are presented with the details of the account. -
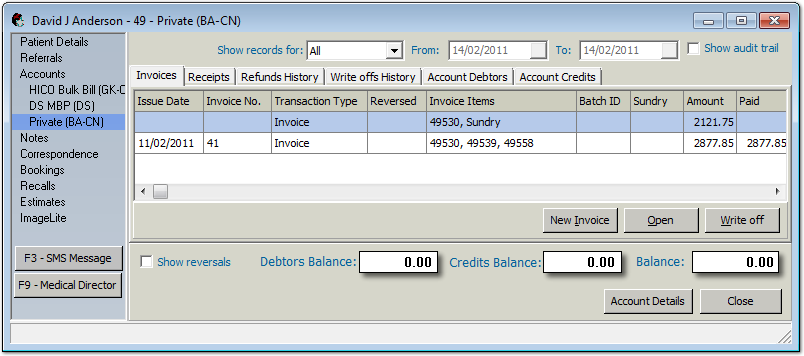
Select the Receipts tab, as shown in the image below.
-
Click

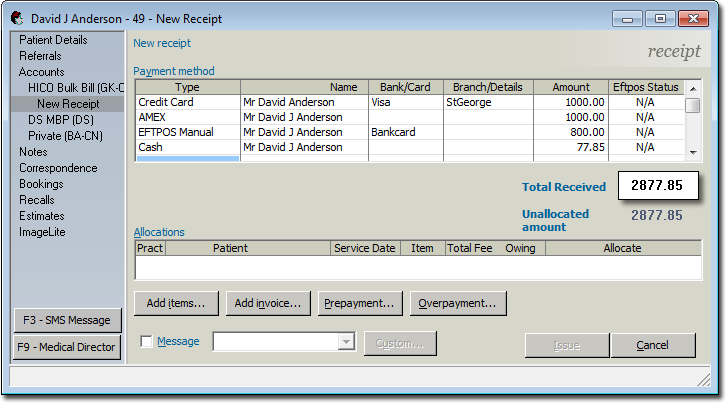
The New Receipt window appears.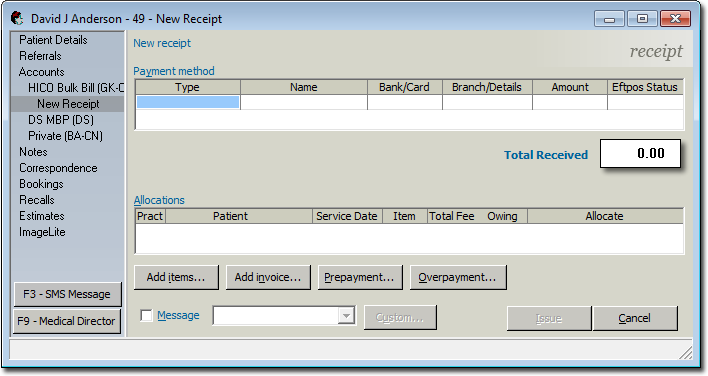
-
Select a payment method;
- Enter the type of payment into the Type field, for example cash, cheque, credit card, EFTPOS Auto, EFTPOS Manual, etc. Double-click in this field to reveal a drop-down list of payment type options to select from. Note that the Credit Card option refers only to the old system where the credit card slips need to be deposited at the bank. To create a receipt with multiple payment types, enter the payment details as described above, for the first payment type. To enter the second payment type, press the Enter key and continue on the second line. If you accidentally start adding an extra line to the Payment method section of the receipt, and want to remove it, highlight any field on that line and press Ctrl+Delete.
- Record the name of the payer in the Name column.
- By double-clicking in the Bank/Card field you can reveal a drop-down list of options to select from. The options available to you differ depending on the payment type you selected previously. For example if you selected a payment type of 'cheque', the drop-down list will present you with the names of the banks you have recorded in Bluechip. If payment type is credit card, the drop-down list will present you with the types credit cards available (e.g. VISA, MasterCard, Bankcard). If you selected a payment type of 'cash' you need not enter anything into the Bank/Card field.
- The Branch/Details field is also treated differently depending on the payment type. If payment type is cash, EFTPOS, AMEX, Diners, or Direct Debit nothing need be entered. If payment type is cheque, then you can enter the branch or the cheque no. If payment type is credit card, then you can record the bank to which the card is attached.
- Enter the amount of the payment type you are receipting into the Amount field. Notice that you have an amount unallocated, which at this stage is the same as the total received. You now need to allocate that amount of money to an outstanding invoice item, or to prepayment.
If you accidentally start adding an extra line to the Payment method section of the receipt, and want to remove it, highlight any field on that line and press Ctrl+Delete.
The example below shows a receipt complete with various payment methods used to pay the account.
-
You must now allocate the receipt to one or more items the patient is being billed for. To do this, click

The Select Invoice Items window appears.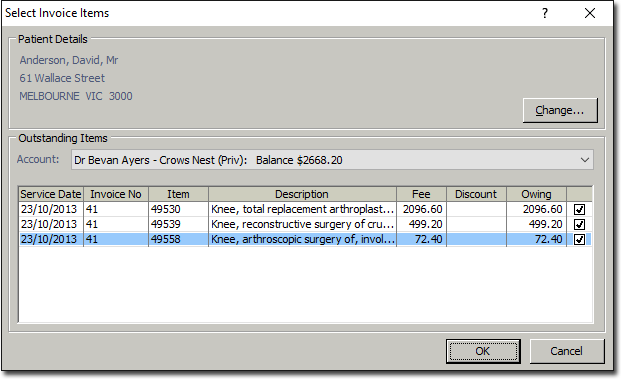
-
(Optional) Bluechip assumes that the receipt is associated with an invoice for the same patient who made the payment, as shown in the Patient Details section of this window. However, if one patient wantes to make a payment on behalf of another, you can now select the other patient by clicking

- Within the Outstanding Items section, select the account you want to allocate this receipt to via the Account drop-down menu. The outstanding service items for the selected account will appear.
-
Allocate the receipt to listed items by ticking an item's associated check box, as shown in the example below.
-
When you have finished allocating the receipt, click OK. You will be returned to the New Receipt window where you can now see how the payments have been allocated.

-
When you are ready to proceed, click

The Issue Receipt prompt appears.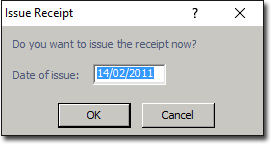
- (Optional) It is assumed that you want to issue the receipt on the current date. You can modify the date at this time if desired.
-
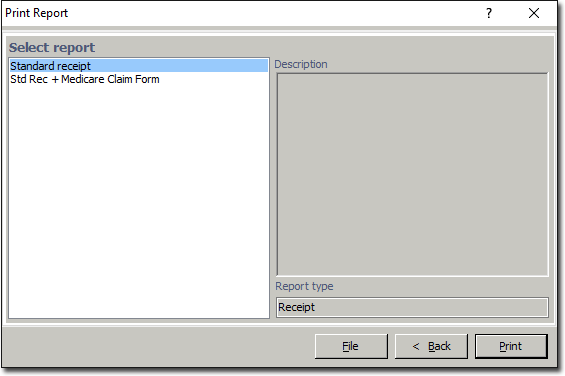
Click OK. when you want to proceed with issuing the receipt. The Print Report prompt appears.
-
Select the type of receipt you want to print and then click

to continue. You may be presented with printer options to select from, after which you can print the receipt. -
You will then be returned to the Invoices tab for the selected account. Notice in the example below, the invoice has been paid in full.