Recalls Summary Report
The Recalls Summary Report provides a list of all recalls that have been entered into the system, and which fall due within a selected date range.
Before you begin
The report shows patients' names, the due date of each recall, the Practitioner with whom each recall is associated, the patients' main phone numbers, the recall type and any comments that have been associated with each recall.
The date on which this report is based is the due date of each recall, rather than the date on which it was entered into the system.
The column headed Patient Name contains the due date of the listed recalls, as well as the names of the patients whose recalls fall due on that date.
The Practitioner column lists the Practitioner, and room, associated with each recall. The Phone Number column contains the main phone number for each listed patient. The Recall Type column lists the type of each listed recall, and the Comment column lists any comments that have been associated with the listed recalls - see also Recalls and Setting Up Recalls, for more information.
Procedure
-
Either:
- Click

- Press Ctrl + P
- Select
- Click
-
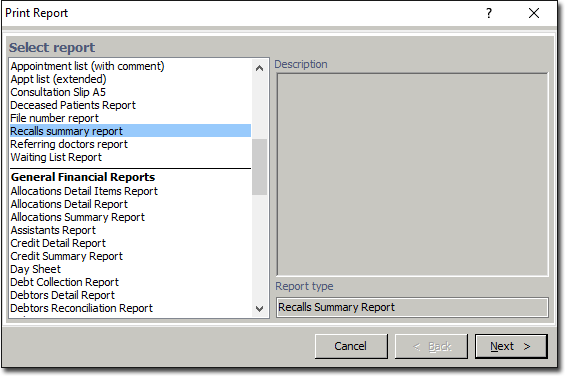
In the Print Report window, select Recalls
Summary Report from the list of reports and click
Next.
-
In the Print Recalls Summary Report window, from the
Recall type drop-down box select a specific recall type, or
select All recall types.
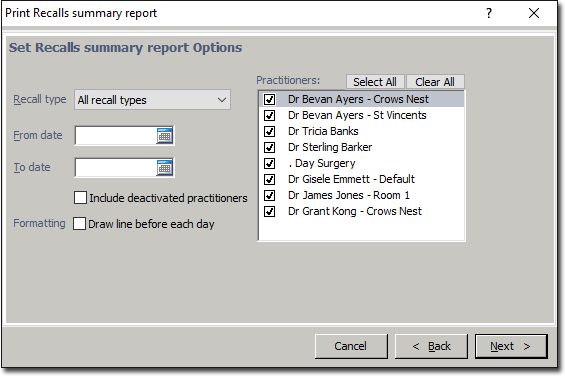
- Enter the date range for the report, remembering that this refers to the due date of recalls. If you want the report to include all recalls, leave the date fields blank.
- If you would like each new date in the report to have a line drawn before it, select the Formatting check box.
- Select the Practitioners whose recall patients you would like included in the report, by selecting the relevant check box. If you only want one Practitioner in a large practice, the quickest method is to click Clear All and then select the appropriate Practitioner.
- When you have made all of the appropriate settings, click Next
-
Ensure that the correct printer and tray is selected and then click Next
You will have to choose the printer and tray the first time you print this report, on each terminal. Thereafter Bluechip will remember the appropriate settings.