To Manage Letterhead Templates
Before you begin
Procedure
-
Select . The Letterhead Setup window appears.
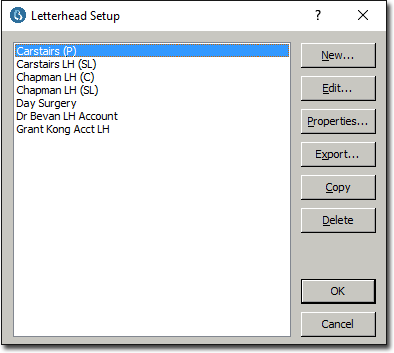
- To add a letterhead template, continue now to Step 2.
- To edit a letterhead template, locate and select the letterhead template and then click Edit Your template is opened in Microsoft Word, where you can make the necessary changes. If you intend to add an image to your letterhead, see also Linking to Images in Document and Letterhead Templates.
- To copy a letterhead template, locate and select the letterhead template and then click

You will be prompted to give the copy a name, a default title, and to select which practitioner it relates to, after which you will be returned to the Report Setup window where your new letterhead template will be available. - To export a letterhead template, locate and select the letterhead template and then click

You will be prompted to select a location to export the template to. This also gives you an opportunity to rename the template, if you desire. - To delete a letterhead template, locate and select the letterhead template and then click Delete You will be prompted to confirm this action.
-
Click New The New Letterhead Template window appears.

- Enter a name for the template.
- (Optional) Enter a default title for the template.
- Select a practitioner to associate this template with, from the associated drop-down list.
- Click OK. to confirm your settings. The New Letterhead Template window closes, and Bluechip opens Microsoft Word, ready for you to design your new letterhead template.
- Modify your letterhead template as necessary. When you have finished, simply close Microsoft Word, and you will be returned to Bluechip, where the letterhead template is now ready for use.