Adjusting/Reversing Invoices
Before you begin
In adjusting an invoice, you can add/remove Service Items and make numerous other changes similar to that if you were creating a new invoice.
Procedure
To adjust an Invoice:
- Open the Patient's Record.
-
From the Margin Menu, select Accounts. The list of accounts is displayed.
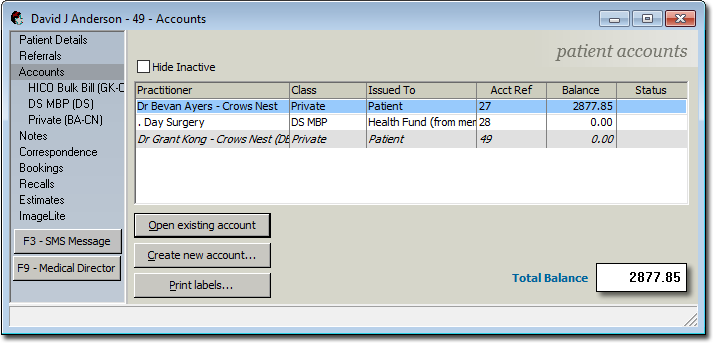
-
Select an account and click Open existing account. You are
presented with the details of the account.
-
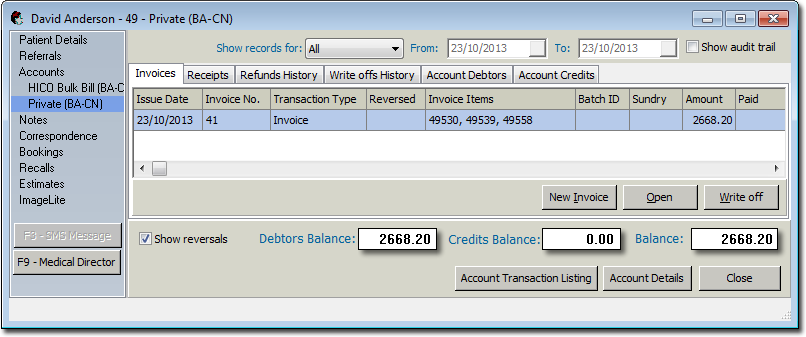
Locate and double-click the invoice you want to adjust. The View Invoice window appears.

- Select the item in the invoice you want to adjust and click Adjust/Reverse.
-
You are prompted to choose whether you want to adjust or reverse the invoice.
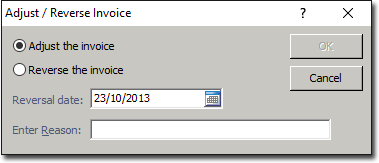
Select whether to adjust or reverse the invoice. Adjust is selected by default. If you do not have permission to reverse invoices, the reverse option will be inactive. If you choose to reverse the invoice, indicate also the date on which the reversal took place. The default is the current date. -
Click OK to continue. The Invoice
window is displayed. Note however that this window is now sub-titled 'Adjust
Invoice'.
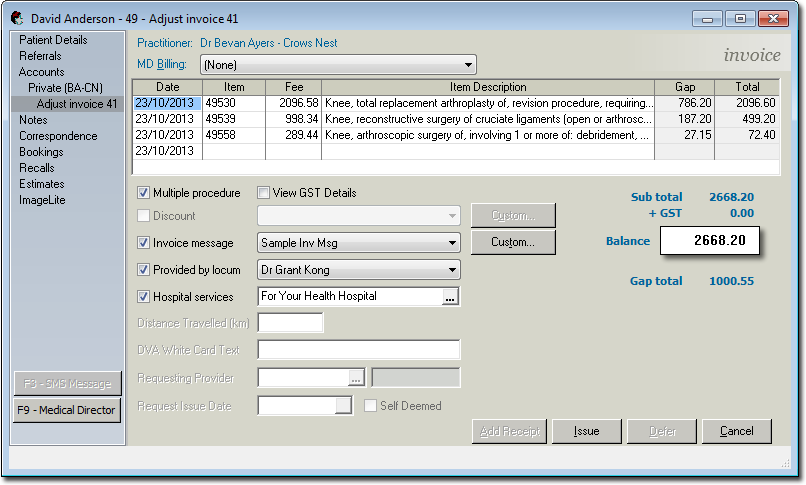
- Make adjustments to the invoice as necessary. See Creating Invoices for more information.
-
Re-issue the invoice when ready by clicking Issue (the date
of issue should be the same as the original issue date). Once you have re-issued the
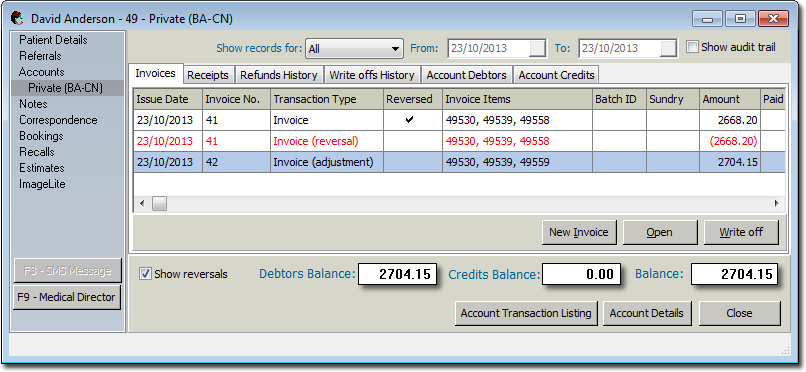
invoice and printed or filed it, you will see that the incorrect invoice still shows
in the account, but with a line through it. The reason for the adjustment is
displayed in the 'Reason' column, available when the Show Audit
Trail check box is ticked.
- If necessary, you can now also adjust the associated receipt.