Word Processing Templates
Bluechip includes a variety of Word Processing templates. You can also import existing Microsoft Word documents and use them as Word Processing templates in Bluechip or create new templates.
Before you begin
Procedure
- Select .
-
In the WP Template Setup window:
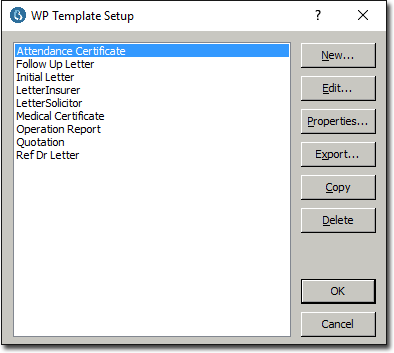
- To add a word processing template, continue now to Step 3.
- To edit a word processing template, locate and select the template and then click Edit. Your template is opened in Microsoft Word, where you can make the necessary changes. For further information about modifying word processing templates, continue now to Step 8, below.
- To copy a word processing template, locate and select the template and click Copy. You will be prompted to give the copy a name, after which you will be returned to the WP Template Setup window where your new template will be available.
- To delete a word processing template, locate and select the template and click Delete. You will be prompted to confirm this action.
- Click New.
-
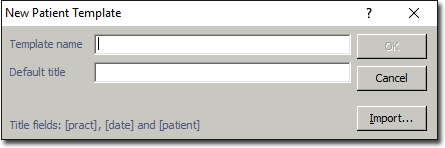
In the New Patient Template window, enter a name for the new
template.
-
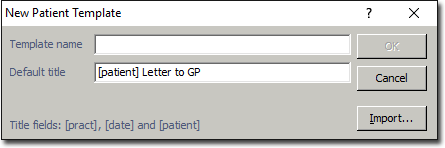
(Optional) Enter a Default Title for the template. The
example shown below includes the use of Field Codes.
- Click OK to confirm your settings.
- The New Patient Template window closes, and Bluechip opens Microsoft Word, ready for you to design your new WP template.
- Modify your WP template as necessary.
-
To add an image if required:
- Ensure that the image is in a location accessible to all workstation computers, such as your Bluechip server computer, \\SERVER\BlueData.
- Within the template, click where you want the image to appear.
- Select . The Insert Picture window appears.
- Locate and select the image. Do not double-click the image, as this action will embed the image in your template, rather than create a link to it.
- With the image selected, locate the Insert button at the bottom-right of the Insert Picture window, and click the drop-down arrow on this button.
- From the menu that appears, select Link to File. You will be returned to the template. Note that it will seem as though you had imported the image, as a copy of the image now appears in your template. However, this is only a preview of the image - a link to the original.
- When you have finished, simply save and close Microsoft Word, and you will be returned to Bluechip, where the WP template is now ready for use.