Before you begin
A number of pre-defined messages can be created in Bluechip, and used later on
items such as invoices, receipts and so forth. The following information describes the
process of creating, editing and deleting an iInvoice message, although a similar
procedure is used for all types of messages.
Procedure
-
From the Bluechip
Main window, select .
-
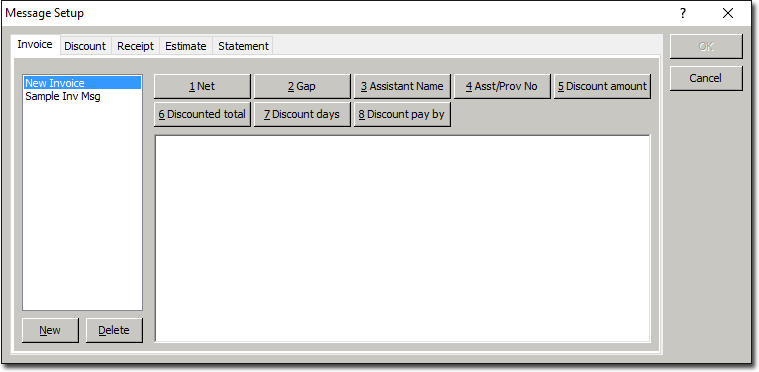
In the Message Setup window, select the appropriate tab for
the type of message you want to manage. This example uses the
Invoice tab.

- To delete a message, select the message from the list at the left side of the
window, and then click Delete You will be prompted to
confirm this action.
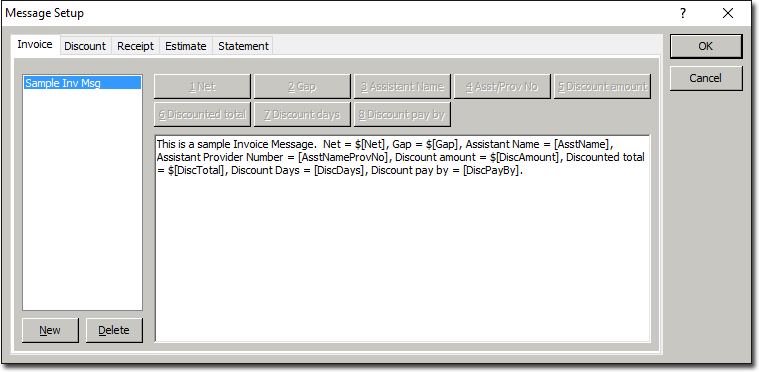
- To edit a message, select the message from the list at the left side of the
window. Make changes as necessary to the message body, within the lower section
of the window. Instructions for modifying the message body can be found at Step
5 for creating a new message, following.
- To create a message, continue now to Step 3.
-
Click New.
-
In the New Common Message window, enter a name for the new
message. Click OK. You will be returned to the
Message Setup window, with your new blank message ready for
modifying.

-
Enter your new message in the text box provided at the bottom of the window. The message body can contain two types of information:
- Free-type: This is text you simply type into the window. You can use any characters, and any amount of text.
- Field Codes: Field Codes are placeholders for data. These placeholders get replaced for the data they represent at the time the message is used. For example, instead of entering an Assistant's name into the message (in which case you might need to create a new message for each Assistant who works at your practice), you can simply use the Field Code of [AsstName]. When the message is used in a document, the [AsstName] field is automatically replaced by the actual Assistant's name. To add field codes to your message body, click the insert point where you would like the field to appear, and then click the appropriate numbered Field Code button from those provided at the top of the Message Setup window. Note that some of the Message Setup window tabs do not provide Field Code buttons.
-
Once you have finished editing your message, click OK. to save the changes and close the Message Setup window.