Procedure
-
Insert the Day Surgery disc to your computer's CD drive. If you are prompted by windows to take any action, ignore/cancel it.
-
On your computer's C: drive, create a folder called DS*. You will eventually copy the Day Surgery files from the CD to this folder, as explained following.
- MedicalDirector's naming conventions for the Day Surgery folder dictate that NSW is the only State where the folder is named 'DS'. All other states include a suffix: VIC = DSV, DSQ = QLD, DSS = SA, DSA = ACT, DSW = WA.
-
Navigate to the Day Surgery disc.
-
Locate and copy these Day Surgery database files: DS Data.mde, DS.mdb.
- If your Windows has been configured to hide file extensions, you will only see the file names of DS Data and DS, without the extensions.
-
Navigate back to the new DS folder you created and paste the three Day Surgery files into it.
-
Right-click each file, select 'properties', and then from the Properties window
that appears, ensure that Read-only is not selected.
-
Replace the current permissions on the DS folder and its contents to ensure that all users have Full Control. Please consult your Systems Administrator is you require assistance with this procedure.
-
Open Bluechip.
-
Within Bluechip select . The Day Surgery Setup window appears.
-
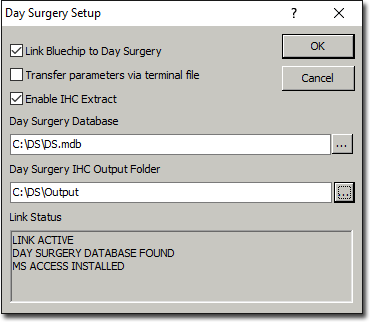
Tick the Link Bluechip to Day Surgery check box.
-
Click the

button, and then browse to the DS folder you created earlier, and select the
DS.mdb file. Click OK to continue.
- You should now see that the Day Surgery database has been found, as indicated above. If this window indicates that MS ACCESS cannot be found or is not installed, contact MedicalDirector Customer Service now for assistance.
-
Open a patient's record.
-
Click F8 - Day Surgery. Day Surgery will be opened in MS
Access.
- If prompted to create a new Episode, click No.
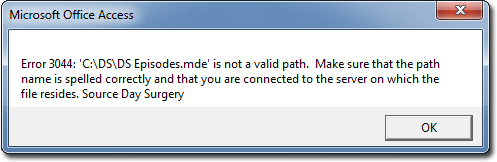
- If prompted with the following 'error' message, click

The path it refers to will be defined in the following steps.
-
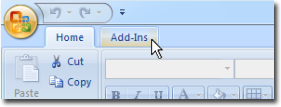
Within Access, select the Add-Ins tab.
-
On the Add-Ins tab, select .
-
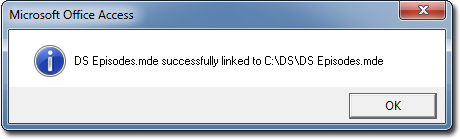
When prompted, navigate to the DS folder you created earlier, and then click the Open button. You should be prompted that the link has been made successfully.
Results
This concludes installing and configuring Day Surgery for the Workstation Computer.
What to do next
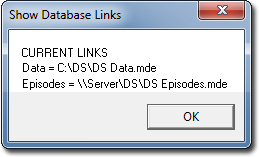
You can check that the linking has been successful by
selecting .